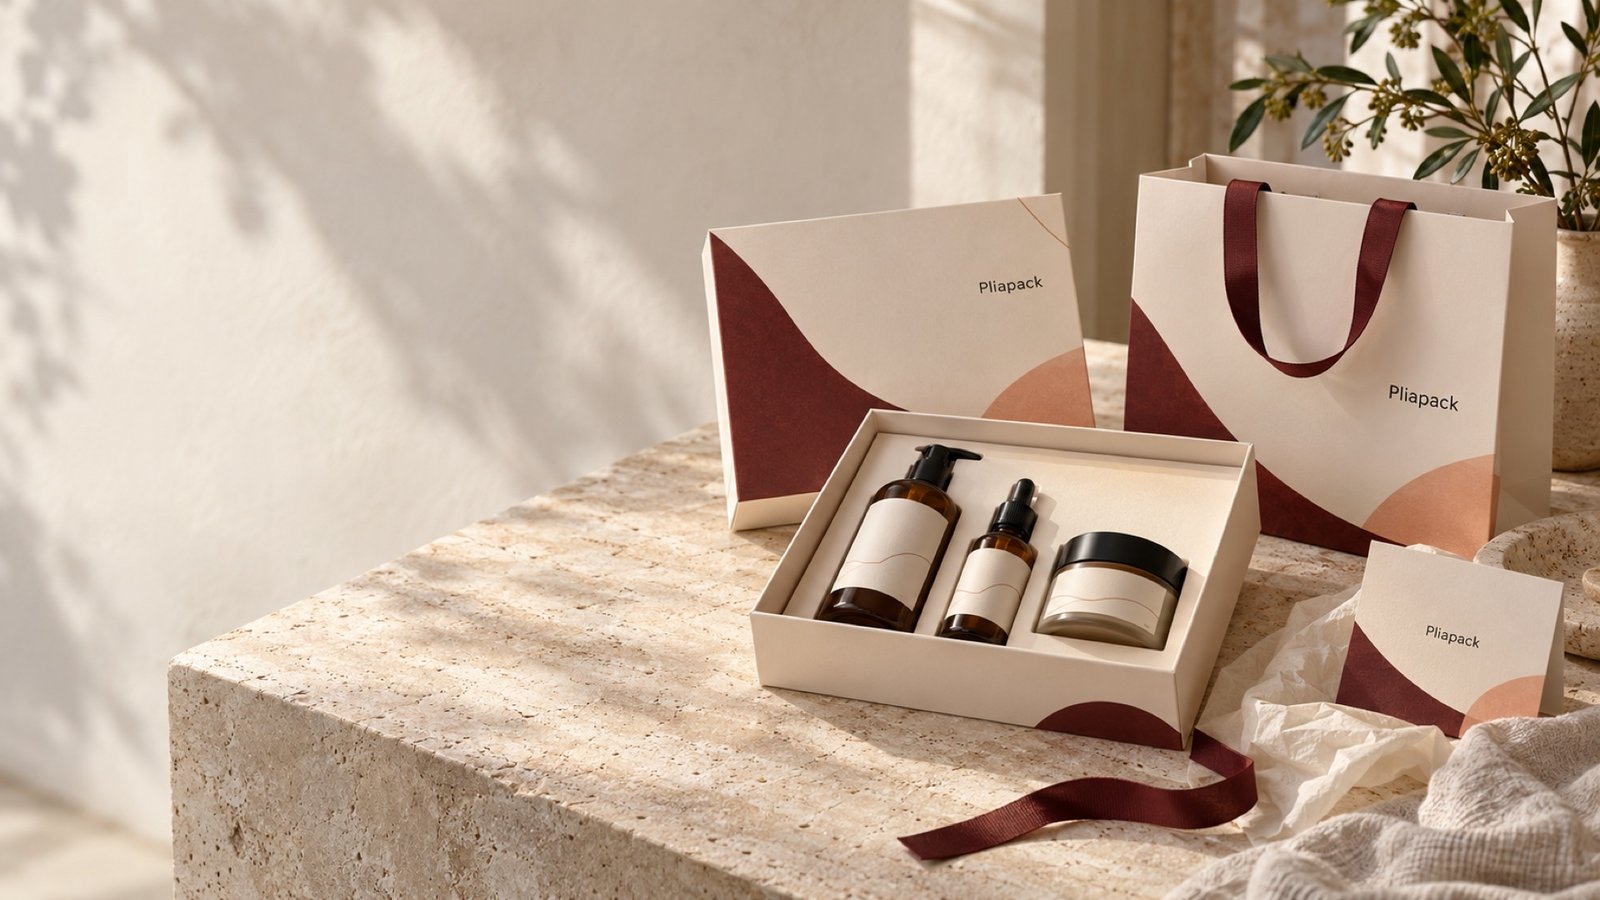
A practical way to brief the box, insert, tissue, card and pack-out as one packaging project.
Illustration note: imagery is an AI-generated Pliapack brand demonstration, not a manufactured sample or evidence of a particular material or finish.
Start with one component list
List every item the recipient should receive, including products, accessories, printed information and packaging. Add quantities per set and note who supplies each item. Treat this as a working bill of materials. When a product or card changes, update the same list so that sampling and packing use the same version.
Choose the presentation order
Our recommended approach is to sketch what appears when the lid opens and what the recipient removes first. A card may need its own position rather than sitting loosely over a product. Review the insert and box together so the arrangement is physically achievable, not just visually attractive in a flat layout.
Design the packing sequence too
Kitting brings separate items into a prepared set. Zenpack describes packaging assembly and fulfillment as work connecting production with the finished unit. That is useful context for a brief: the assembly sequence is a real part of the project, not an afterthought. Pliapack confirms its own pack-out scope separately.
Packaging fulfillment and assembly →
Identify separate versions early
If recipients receive different contents or messages, define the variants and quantities before production planning. Distinguish changes to a printed card from changes to the product arrangement: one may leave the structure unchanged, while the other needs a different fit review. Keep destination lists separate from public artwork and share only information needed for fulfillment.
Review the complete sample
Include the products, insert, tissue, ribbon and card in the assembled review. Check both the opening experience and the packer's instructions. Confirm outer packaging and shipping requirements separately; a gift-ready presentation is not proof of transit performance.