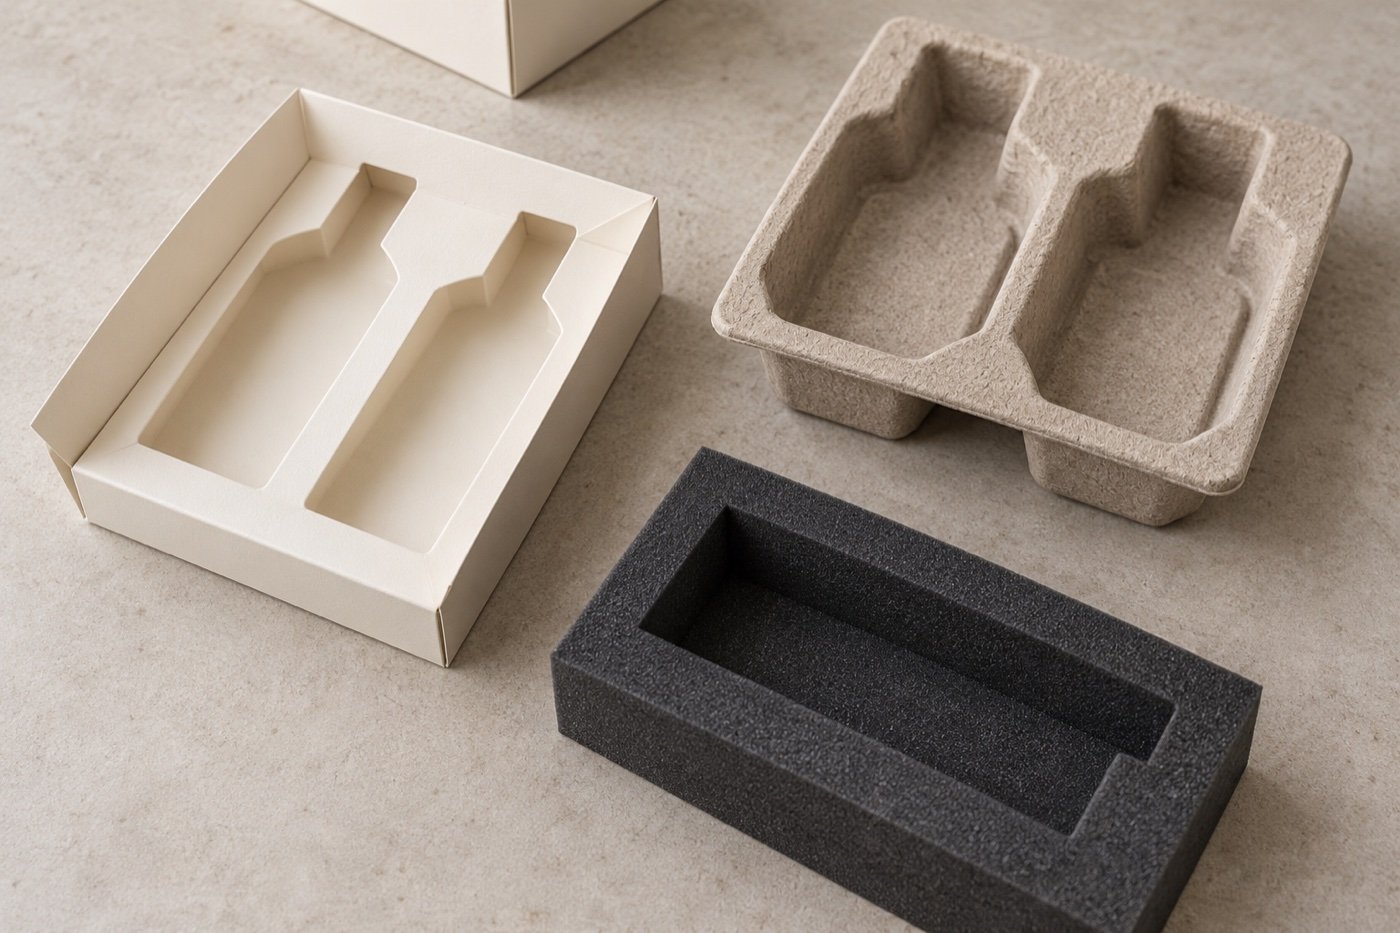
Fit, presentation and the questions to ask before sampling a custom packaging insert.
Illustration note: imagery is an AI-generated Pliapack brand demonstration, not a manufactured sample or evidence of a particular material, protection level or environmental result.
Begin with the contents and the box
An insert must work with the product dimensions, weight, orientation and intended removal, as well as the usable space and opening movement of the surrounding box. Start with the actual contents and a measured box direction. See custom insert development for the information used to prepare an enquiry.
No material is automatically the best choice for every project. The useful comparison is how each proposed structure presents the product, where it makes contact, how it can be packed and what the physical sample still needs to prove.
Compare common insert approaches
| Material approach | Typical structural method | Presentation effect | Fit and use considerations | What to validate |
|---|---|---|---|---|
| Paperboard | Folded platforms, walls, trays or layered constructions formed from paperboard. | Can create clean planes and coordinated printed or wrapped surfaces. | Creases, tabs, folded edges, load direction, product wells and finger access must work within the box. | Assembled dimensions, product support, folding behavior, surface contact, print position and removal. |
| Corrugated | Folded fluted-board platforms, partitions or cells. | Often reads as a visible structural solution; surface and edge appearance depend on the selected board and design. | Flute direction, scores, exposed edges, locks, product weight and available depth affect the layout. | Fit in the outer box, divider engagement, packed shape, product movement and any separately agreed transport test. |
| Molded pulp | A formed cavity or tray shaped around the product and the manufacturing process. | Can provide a continuous molded form with its own surface texture and color direction. | Draft, depth, product release, surface contact, dimensional variation and the surrounding box need project review. | Product fit, removal, visible surface, contact areas, formed detail and the approved material sample. |
| Foam | Cut, routed, layered or otherwise formed wells around the product. | Can create defined cavities; uncovered, laminated or fabric-covered appearances should be reviewed separately. | Material compatibility, compression, odor, exposed edges, rubbing, product removal and regional requirements may be relevant. | Actual-product contact, compression and recovery during intended use, surface marking, adhesion or covering, and complete-pack behavior. |
These descriptions are selection knowledge, not a statement that every material, construction or process is available for every Pliapack project. Proposed options and their supply scope need confirmation during project review.
Use the product experience to narrow the choice
- For a visible insert, consider whether its color, texture and edge treatment support the intended presentation.
- For a concealed support structure, prioritize product position, packing sequence and removal before decorative detail.
- For heavier or irregular products, review load direction and how support is distributed through the insert and box.
- For several components, define the hierarchy, spacing, dividers and the order in which items are discovered.
- For sensitive surfaces, map every contact point and test the actual product material against the proposed insert surface.
Illustrative scenario 1 — Multi-product gift box
Illustrative scenario. A gift box contains a bottle, jar, accessory and printed card. The initial layout places the primary product first in the reading order, groups the secondary items and reserves a separate area for the card so it does not cover the products.
The insert concept can use individual wells or divided zones, but the decision should follow the product weights, pack-out direction and intended removal sequence. Finger spaces need to be placed where a user can reach each item without pulling out a neighboring component. The sample should confirm the complete layout with every product version, not a simplified set of placeholders.
The surrounding box also matters: a lid and base box may provide full top access, while a rigid drawer box introduces horizontal movement and sleeve clearance. Review multi-component planning through complete packaging solutions.
Illustrative scenario 2 — Fragile or scuff-sensitive product
Illustrative scenario. A product has a projecting part and a finished surface that should not be rubbed. The selection process begins by identifying areas that may carry load, areas that can be contacted and surfaces that need clearance.
An insert may be designed to locate the product through reviewed support points, leave space around the sensitive finish and provide a removal path that does not drag the item across the insert. Material choice alone does not establish protection. Surface interaction, movement, product weight, outer-box behavior and the intended distribution route all need separate confirmation.
The sample review should use the actual product or an approved equivalent. Check contact marks, removal, repeated handling and the assembled pack. If transport performance is required, define suitable testing for the approved product, insert, presentation box, protective materials and outer shipping packaging; do not treat an attractive display sample as a passed transport test.
Check removal as well as retention
A product should not simply look tidy in a photograph. Place and remove each item in the intended order, assess finger access and confirm that the insert remains seated. Check whether labels, caps, polished surfaces or other visible areas are contacted during packing, opening or replacement.
Approve the complete system
Review the box, insert and actual contents together, and record what the sample represents. The sampling and prototyping page explains the approval flow, while the Packaging Sample Checklist provides a practical review sequence.
Prepare the insert brief
Provide dimensions, weight, photographs or samples, the desired layout, contact restrictions and removal requirements. Contact Pliapack to review the insert with the surrounding box and the complete pack-out rather than treating it as an isolated component.