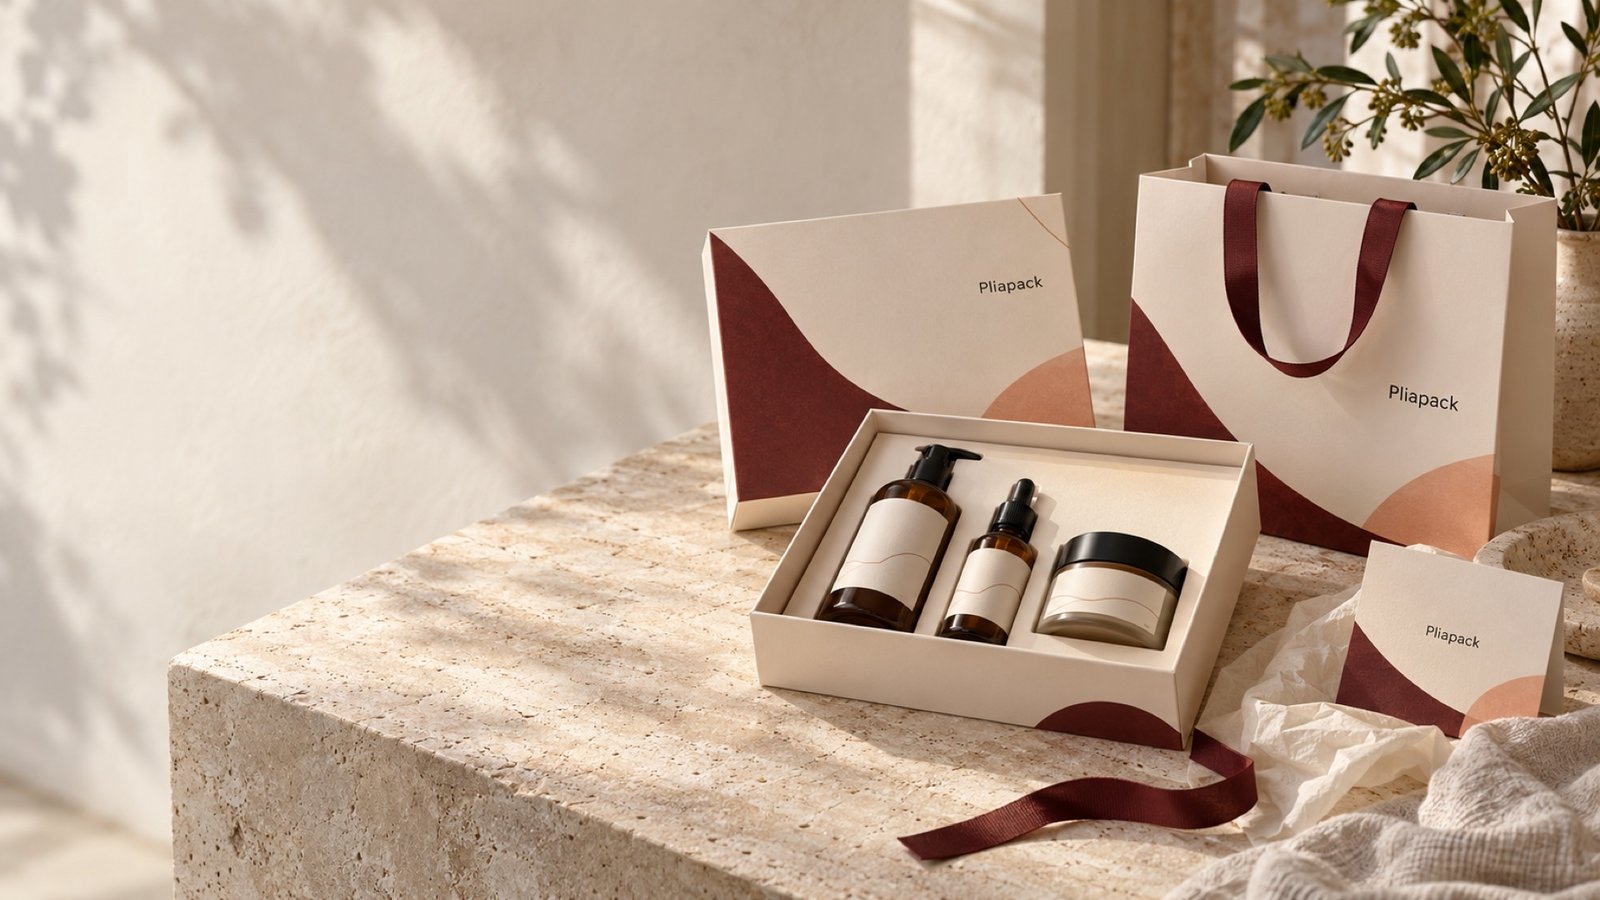
Review ribbons, tissue, cards and bags as coordinated parts of the pack rather than last-minute additions.
Illustration note: imagery is an AI-generated Pliapack brand demonstration, not a manufactured sample or evidence of a particular material or finish.
Give each detail a job
Before selecting a ribbon, decide what it should do: close a presentation wrap, lift an item, create a gift gesture or connect the box visually with a bag. These are different uses. An ornamental ribbon should not be assumed to carry weight or secure a pack during distribution. Confirm functional requirements separately.
Keep the palette coherent
Our recommended starting point is one dominant packaging surface and a small number of supporting accents. Review physical ribbon, paper and printed-card samples together under consistent light. A screen mockup is useful for composition, but it is not a production color reference. If exact alignment matters, agree the physical references before approval.
Include the finishing details in the sample
Trial the intended ribbon length, fold or bow on the assembled box. Look at the amount of material left over, how the recipient opens it and how it sits inside an outer carton. Tissue and cards should be present during this review because they can change the packing sequence and the space available.
Plan for assembly
Write down where each component belongs and whether the final pack is delivered assembled or flat. A tied ribbon, a loop and an adhesive detail can require different handling. Rather than assume one solution is cheaper, ask for the proposed assembly scope to be reflected in the quotation.
Make supporting materials part of the brief
Send one component list covering boxes, inserts, ribbon, tissue, cards and bags. Identify which items you will supply and which you would like coordinated. Pliapack reviews these as supporting parts of a packaging project rather than offering an online cart of interchangeable accessories.
Complete packaging solutions →