Develop the box and the fit together—not as two separate purchases.
A custom insert connects the product to the surrounding box and to the way the pack is assembled. Its dimensions, support points, finger access and component layout should be developed with the box opening, lid or drawer movement, printed materials and packing sequence in view.
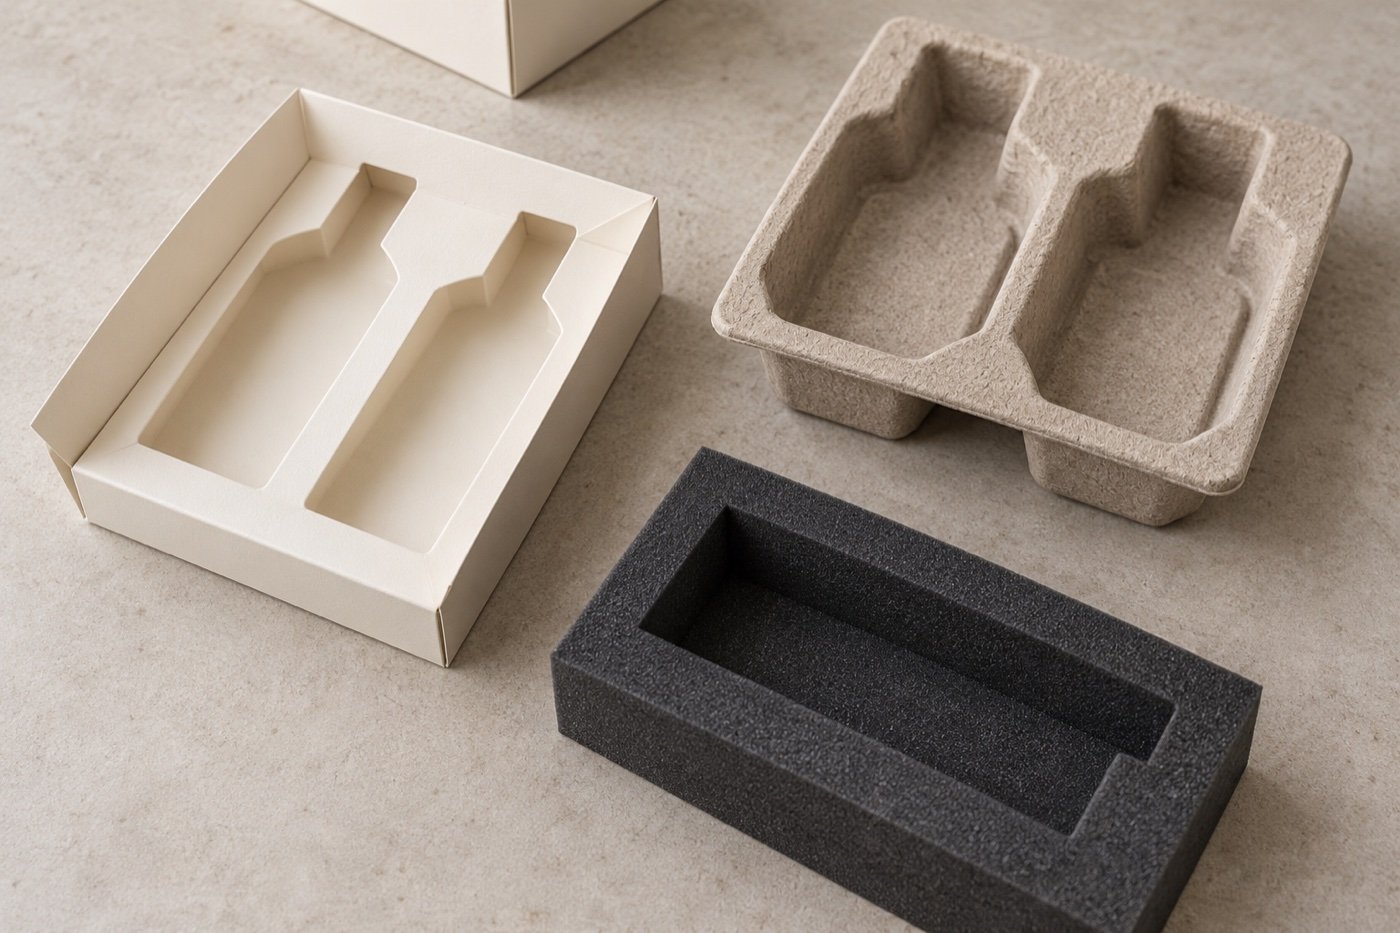
Develop the insert with the complete pack
The outer box defines the available internal space. The product defines the loads, contact areas and presentation direction. The assembly plan defines how the insert and contents can be placed consistently. Changing one of these after sampling can affect the others.
- Confirm the internal box dimensions and any lid, hinge, drawer or closure clearance.
- Position the actual product, accessories and printed components in their intended order.
- Identify where the insert can touch the product and which surfaces should remain visible or untouched.
- Plan how packers load the components and how the recipient removes them.
- Review the insert and box together before approving either as a finished system.
Common project situations
One product in a presentation box
The insert can center or stage one item, control its orientation and provide a clear removal route. Caps, pumps, closures, cables or fragile projecting parts need to be included in the product reference. The insert should not be approved from an empty-box photograph alone.
Several products in one set
A multi-product set needs a component list, exact product versions and a defined visual hierarchy. Wells, dividers or platforms can be considered around product weight, removal order and the way the kit is packed. Cards, tissue and accessories also need allocated space so they do not obstruct the product layout or closing action.
An insert for an existing box
If the box already exists, provide its internal dimensions and a physical sample where possible. Small differences in walls, corners, wrapping and usable depth can affect fit. The review should establish whether the existing structure leaves enough room for the product, insert and removal features before a scope is confirmed.
Information to provide
- Length, width and height for every product and accessory, with units and the measurement orientation.
- Approximate weight of each item and the combined packed set.
- Clear photographs, drawings or a physical product sample when available.
- The intended layout, presentation direction and order in which items should be seen or removed.
- Areas that may be contacted and surfaces that should not be pressed, rubbed or hidden.
- Required finger access, pull features or another removal method.
- Outer-box direction, internal dimensions or an existing box sample.
- Estimated quantity, destination, pack-out location and any separately defined transport requirements.
If the insert material is undecided, describe what the insert must achieve rather than selecting one from appearance alone. The Choosing Box Inserts guide compares common material approaches and the questions to validate.
What to check in the sample
- The insert seats correctly inside the approved box without bowing or preventing closure.
- The actual products fit in the intended orientation without unreviewed pressure points or contact.
- Products do not shift during the agreed handling check and remain visually aligned when the pack is opened.
- Finger access, pull details and the removal direction work for the intended user.
- The insert remains seated when products are removed and returned.
- Lids, magnetic closures, drawers, tabs or other moving parts operate with the packed insert in place.
- Cards, tissue and accessories can be loaded in the documented sequence and the final component count is clear.
A presentation and fit sample does not by itself establish performance for a distribution route. Where shipping protection matters, agree the packed configuration, outer packaging, test method and acceptance criteria separately.
Coordinate the insert with the box structure
Insert space and access change with the opening format. Compare existing magnetic hinged lid boxes, lid and base boxes and rigid drawer boxes as starting points, then confirm dimensions around the actual product.
Start an insert enquiry
Review coordinated components through complete packaging solutions and sample scope through sampling and prototyping. Contact Pliapack with the product information, layout direction and box details currently available. Open material or removal decisions can be identified in the enquiry.